
Find a useful search opportunity
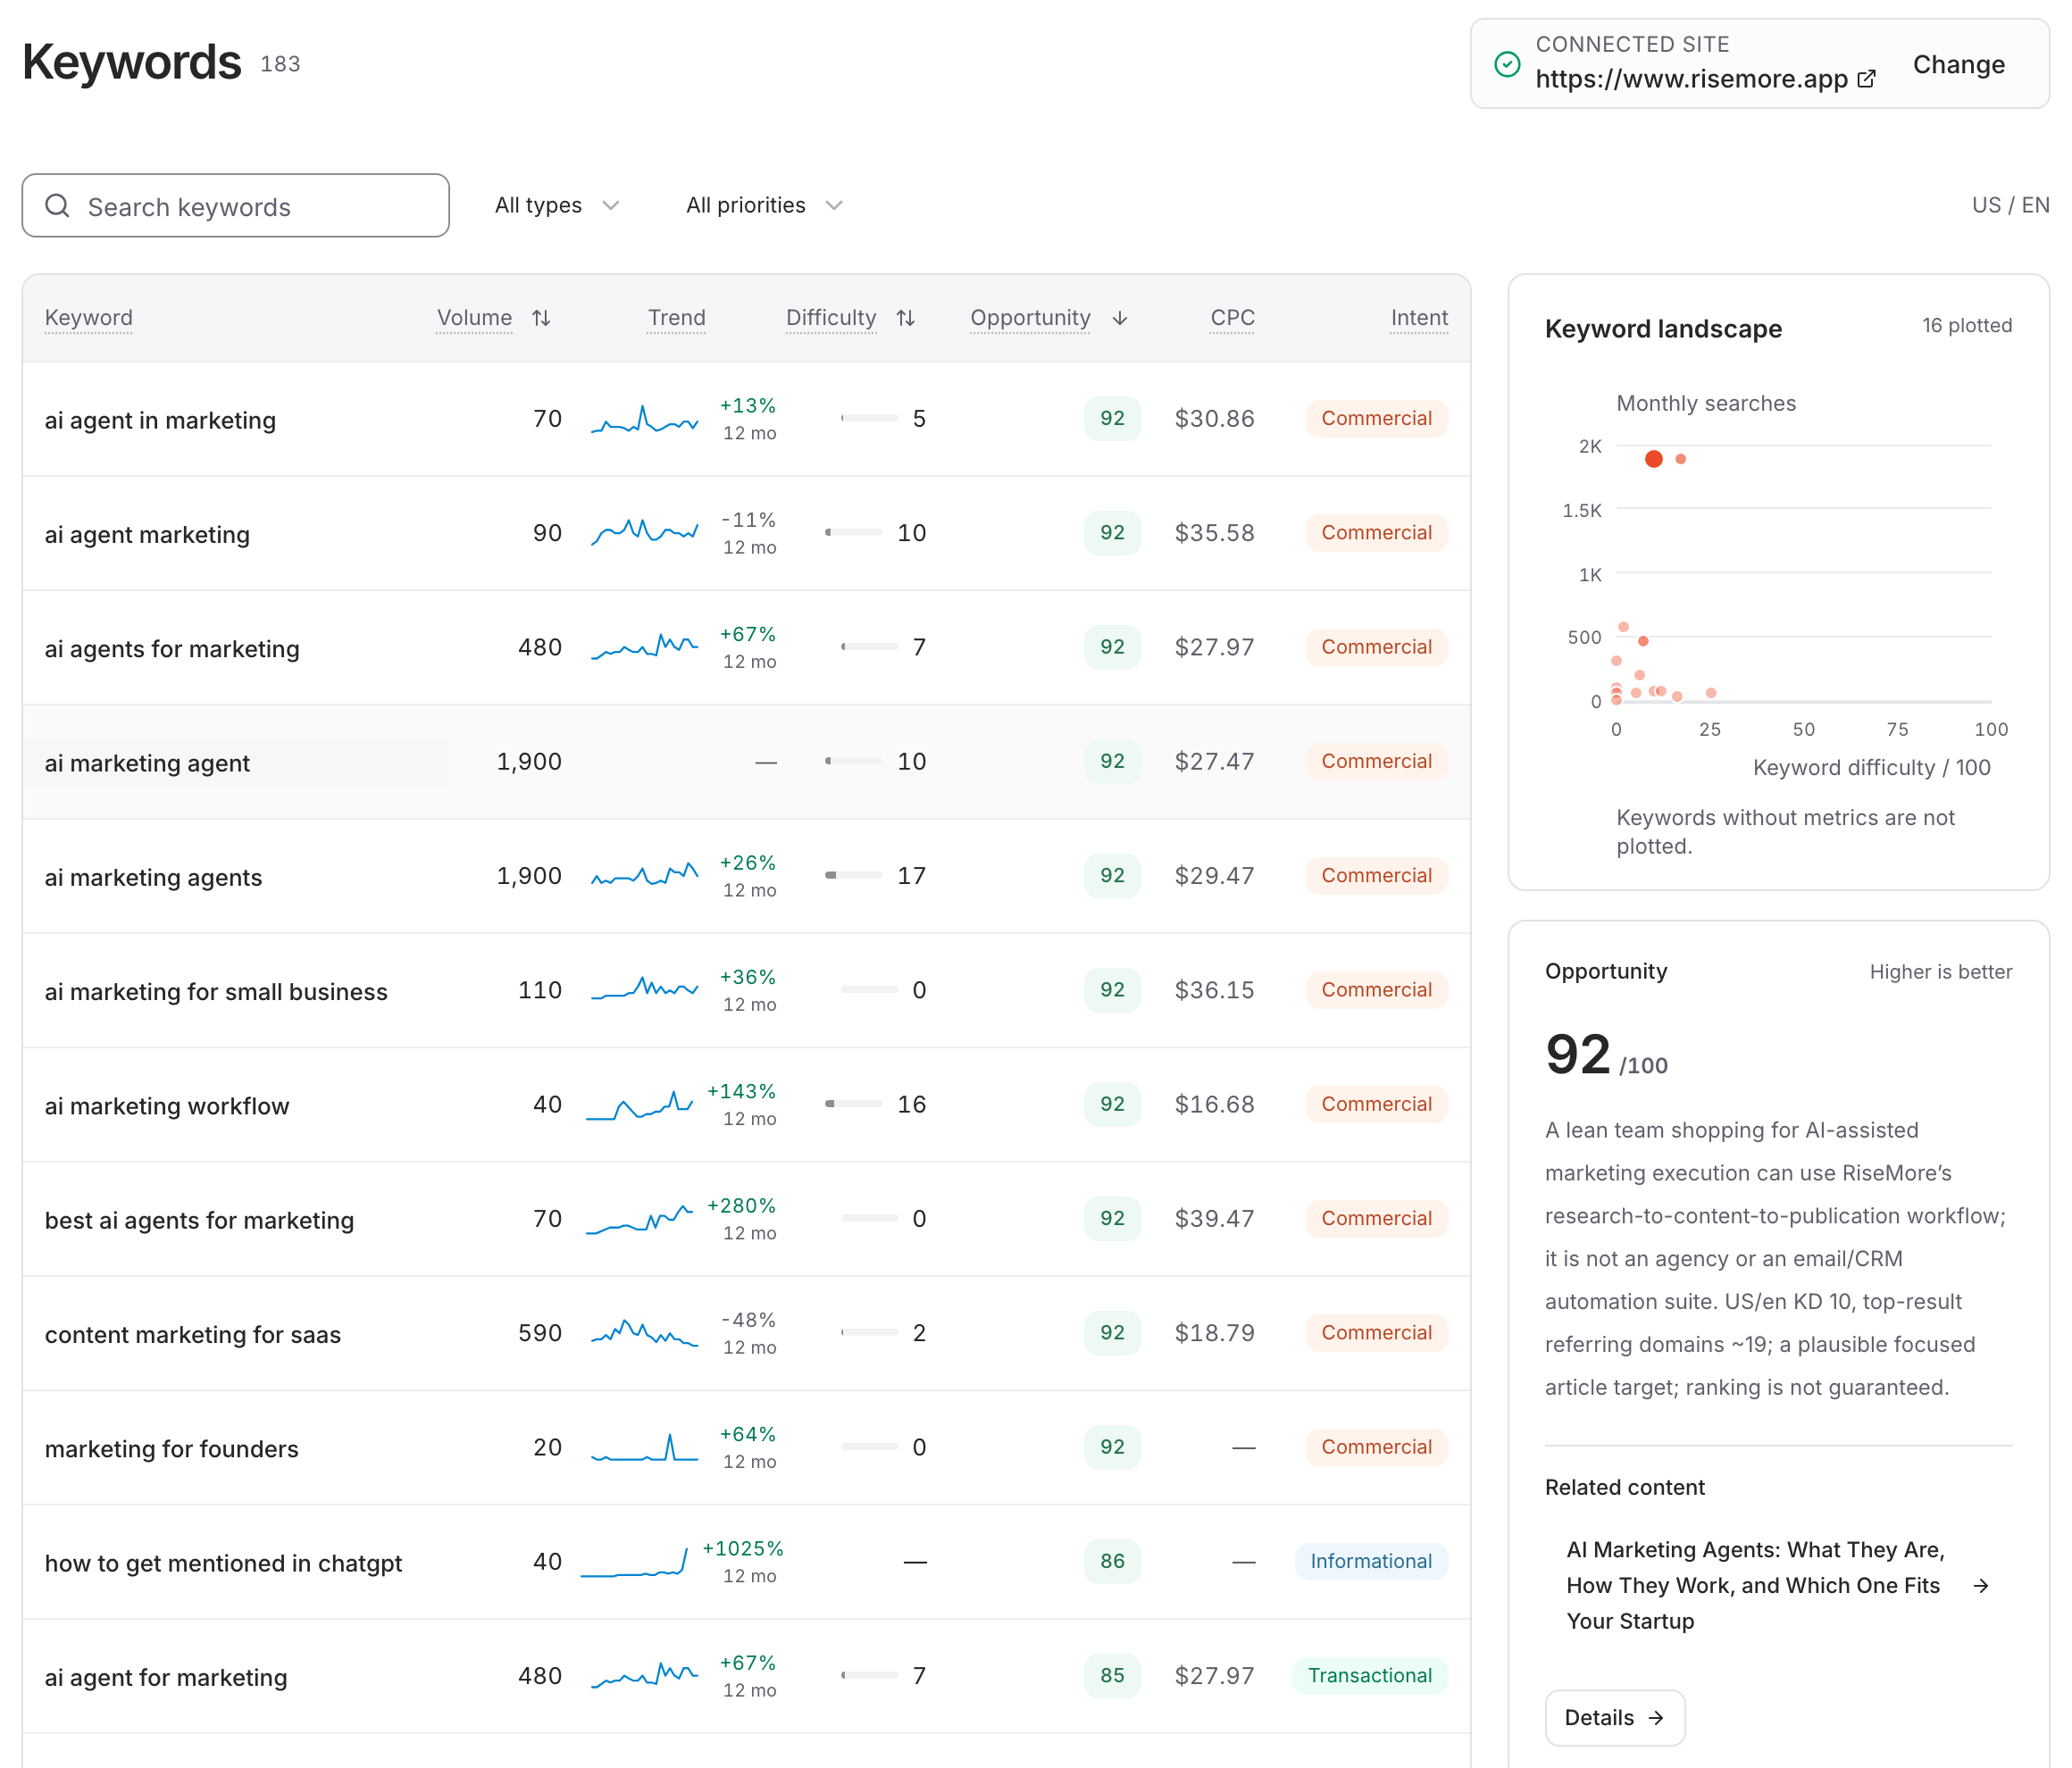
Open SEO Agent in your product's Console. SEO execution requires Pro or Growth access and available credits. Begin with the keyword library and inspect the evidence behind an opportunity.
| What you start with | What you get | Your next decision |
|---|---|---|
| Product knowledge and keyword research | Keywords with search demand and product-fit evidence | Inspect the audience's question and related existing coverage |
| A proposed topic | An angle and research for an article | Select the topic you want written |
| The selected topic | A saved article and cover | Review and edit before scheduling on your site |
| Approved publication | A publication status and, when delivered, a public article URL | Open the URL to verify the result |
You can research and review an article before connecting a site. Automatic publication currently uses WordPress; Channels & Connections explains the supported destinations. If research describes the wrong product or audience, correct Product Knowledge before writing more articles.
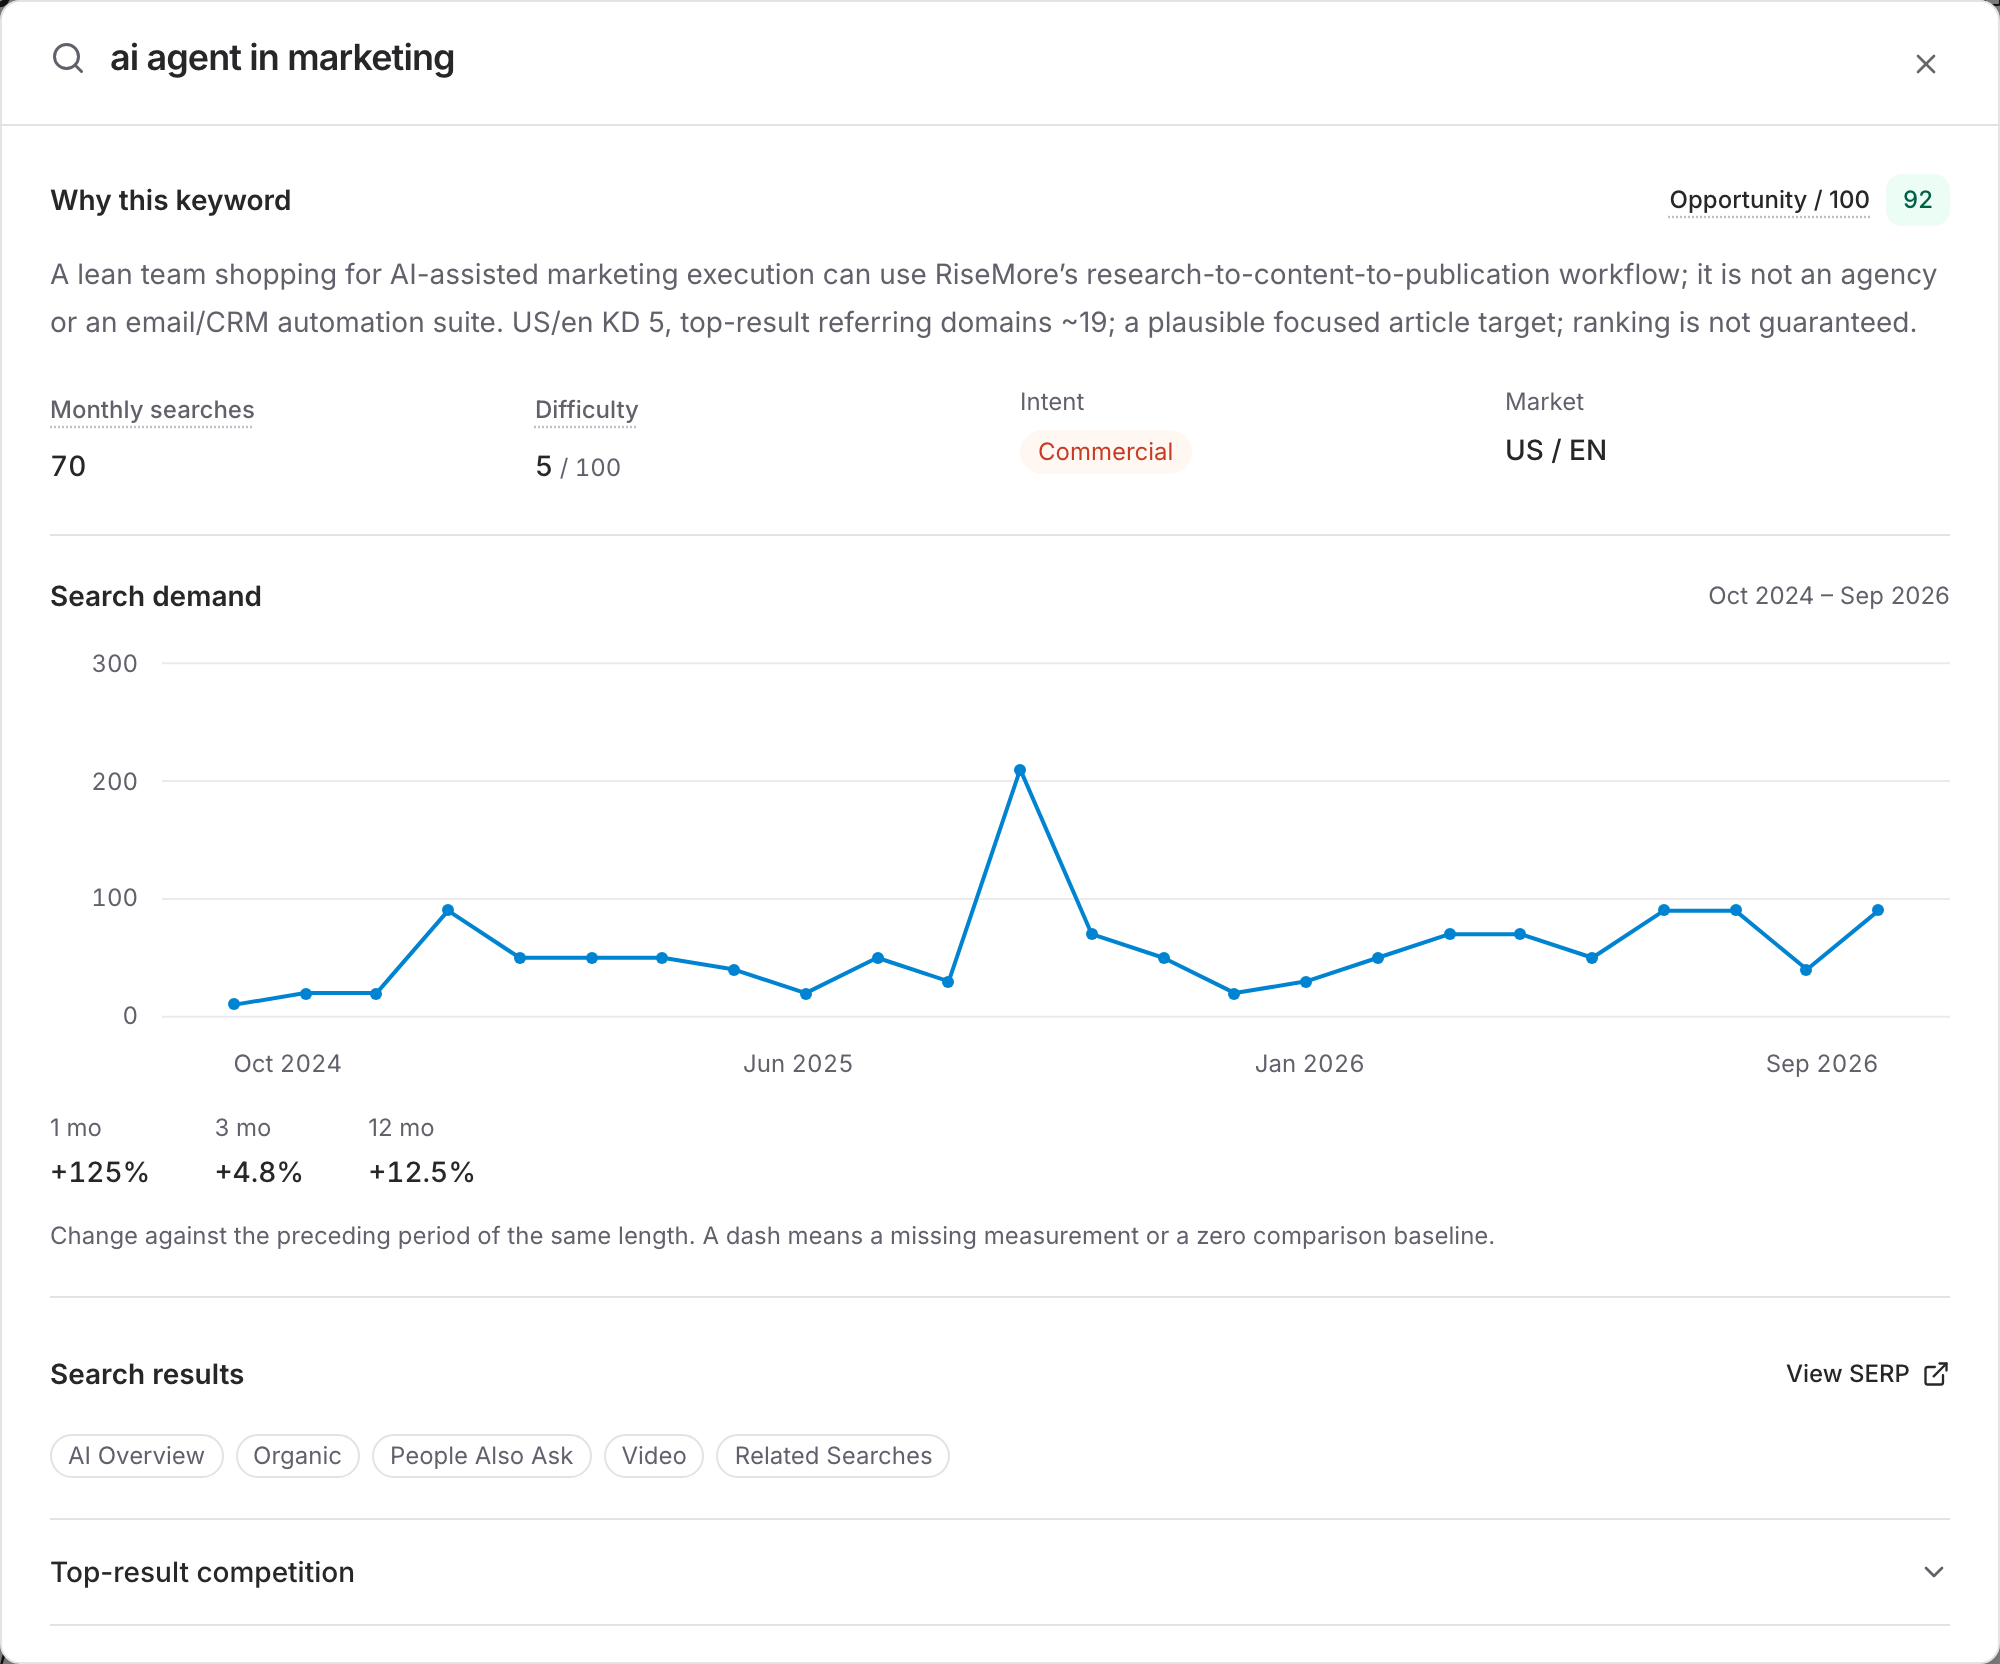
Search demand, intent, and opportunity reasoning answer different questions: how people search, what they expect to find, and why your product has a useful contribution. Open a keyword's details to check the market, collection date, and available metrics. Missing data is not a measured zero, and a demand trend is not your site's ranking history.
Choose a proposed topic
Discovery saves keywords. Article selection then considers the pool, your product, and existing coverage to propose topics. Open Workflow, inspect a candidate's writing angle and research, and select the topic you want generated.
Review related existing articles before creating another page that answers the same question. You make this topic choice; a recurring discovery run does not approve every keyword for writing or publishing.
If there are no proposed topics yet, check whether discovery and topic selection have run. Scheduled Tasks explains recurring work and its paused states. A keyword in the library is evidence for planning; it is not already a generated article.
Generate and edit the article
Choose Generate article for the selected topic, then open the saved article when writing finishes. Review its title, body, sources, product claims, linked keywords, and cover. Use Edit to make changes and save them before scheduling.
Regenerate replaces the saved draft using the topic's research and angle. Keep any wording you want to preserve before confirming. If another version was saved while you edited, compare both versions before saving again. Review & Publish covers these editing decisions. If the cover is missing, retain the text and follow the missing-image steps.
Connect your WordPress site
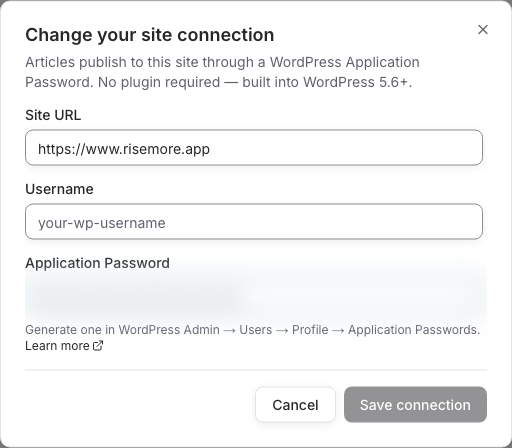
Choose Connect your site. The current connection asks for your Site URL, WordPress Username, and an Application Password. Use an Application Password for the integration, not your ordinary login password, and keep it out of screenshots and support messages.
- Sign in to your WordPress administration area and open Users → Profile → Application Passwords.
- Create an Application Password for this connection and copy it.
- Return to Connect your site, enter the site's URL, the WordPress username, and that Application Password, then submit the form.
- Wait for the connection check to succeed before scheduling the article.
If Application Passwords are unavailable, check with the person who manages your WordPress site. If RiseMore reports an inactive or unreachable connection, use the displayed check or reconnect action. A failed connection check does not mean an article was published, or that you should create another copy of it.
Schedule publication
From the reviewed article, choose Schedule publication. Select a future Publish date and One-hour window, check the displayed timezone, and confirm. The article is approved for publication through that site connection; the window is not a promise of delivery at its first second.
If the article changed while you were reviewing, reopen the latest version and approve again. Check the scheduled state afterward. Use Reschedule or Cancel schedule while those actions remain available if you need to change the plan.
Verify the published article
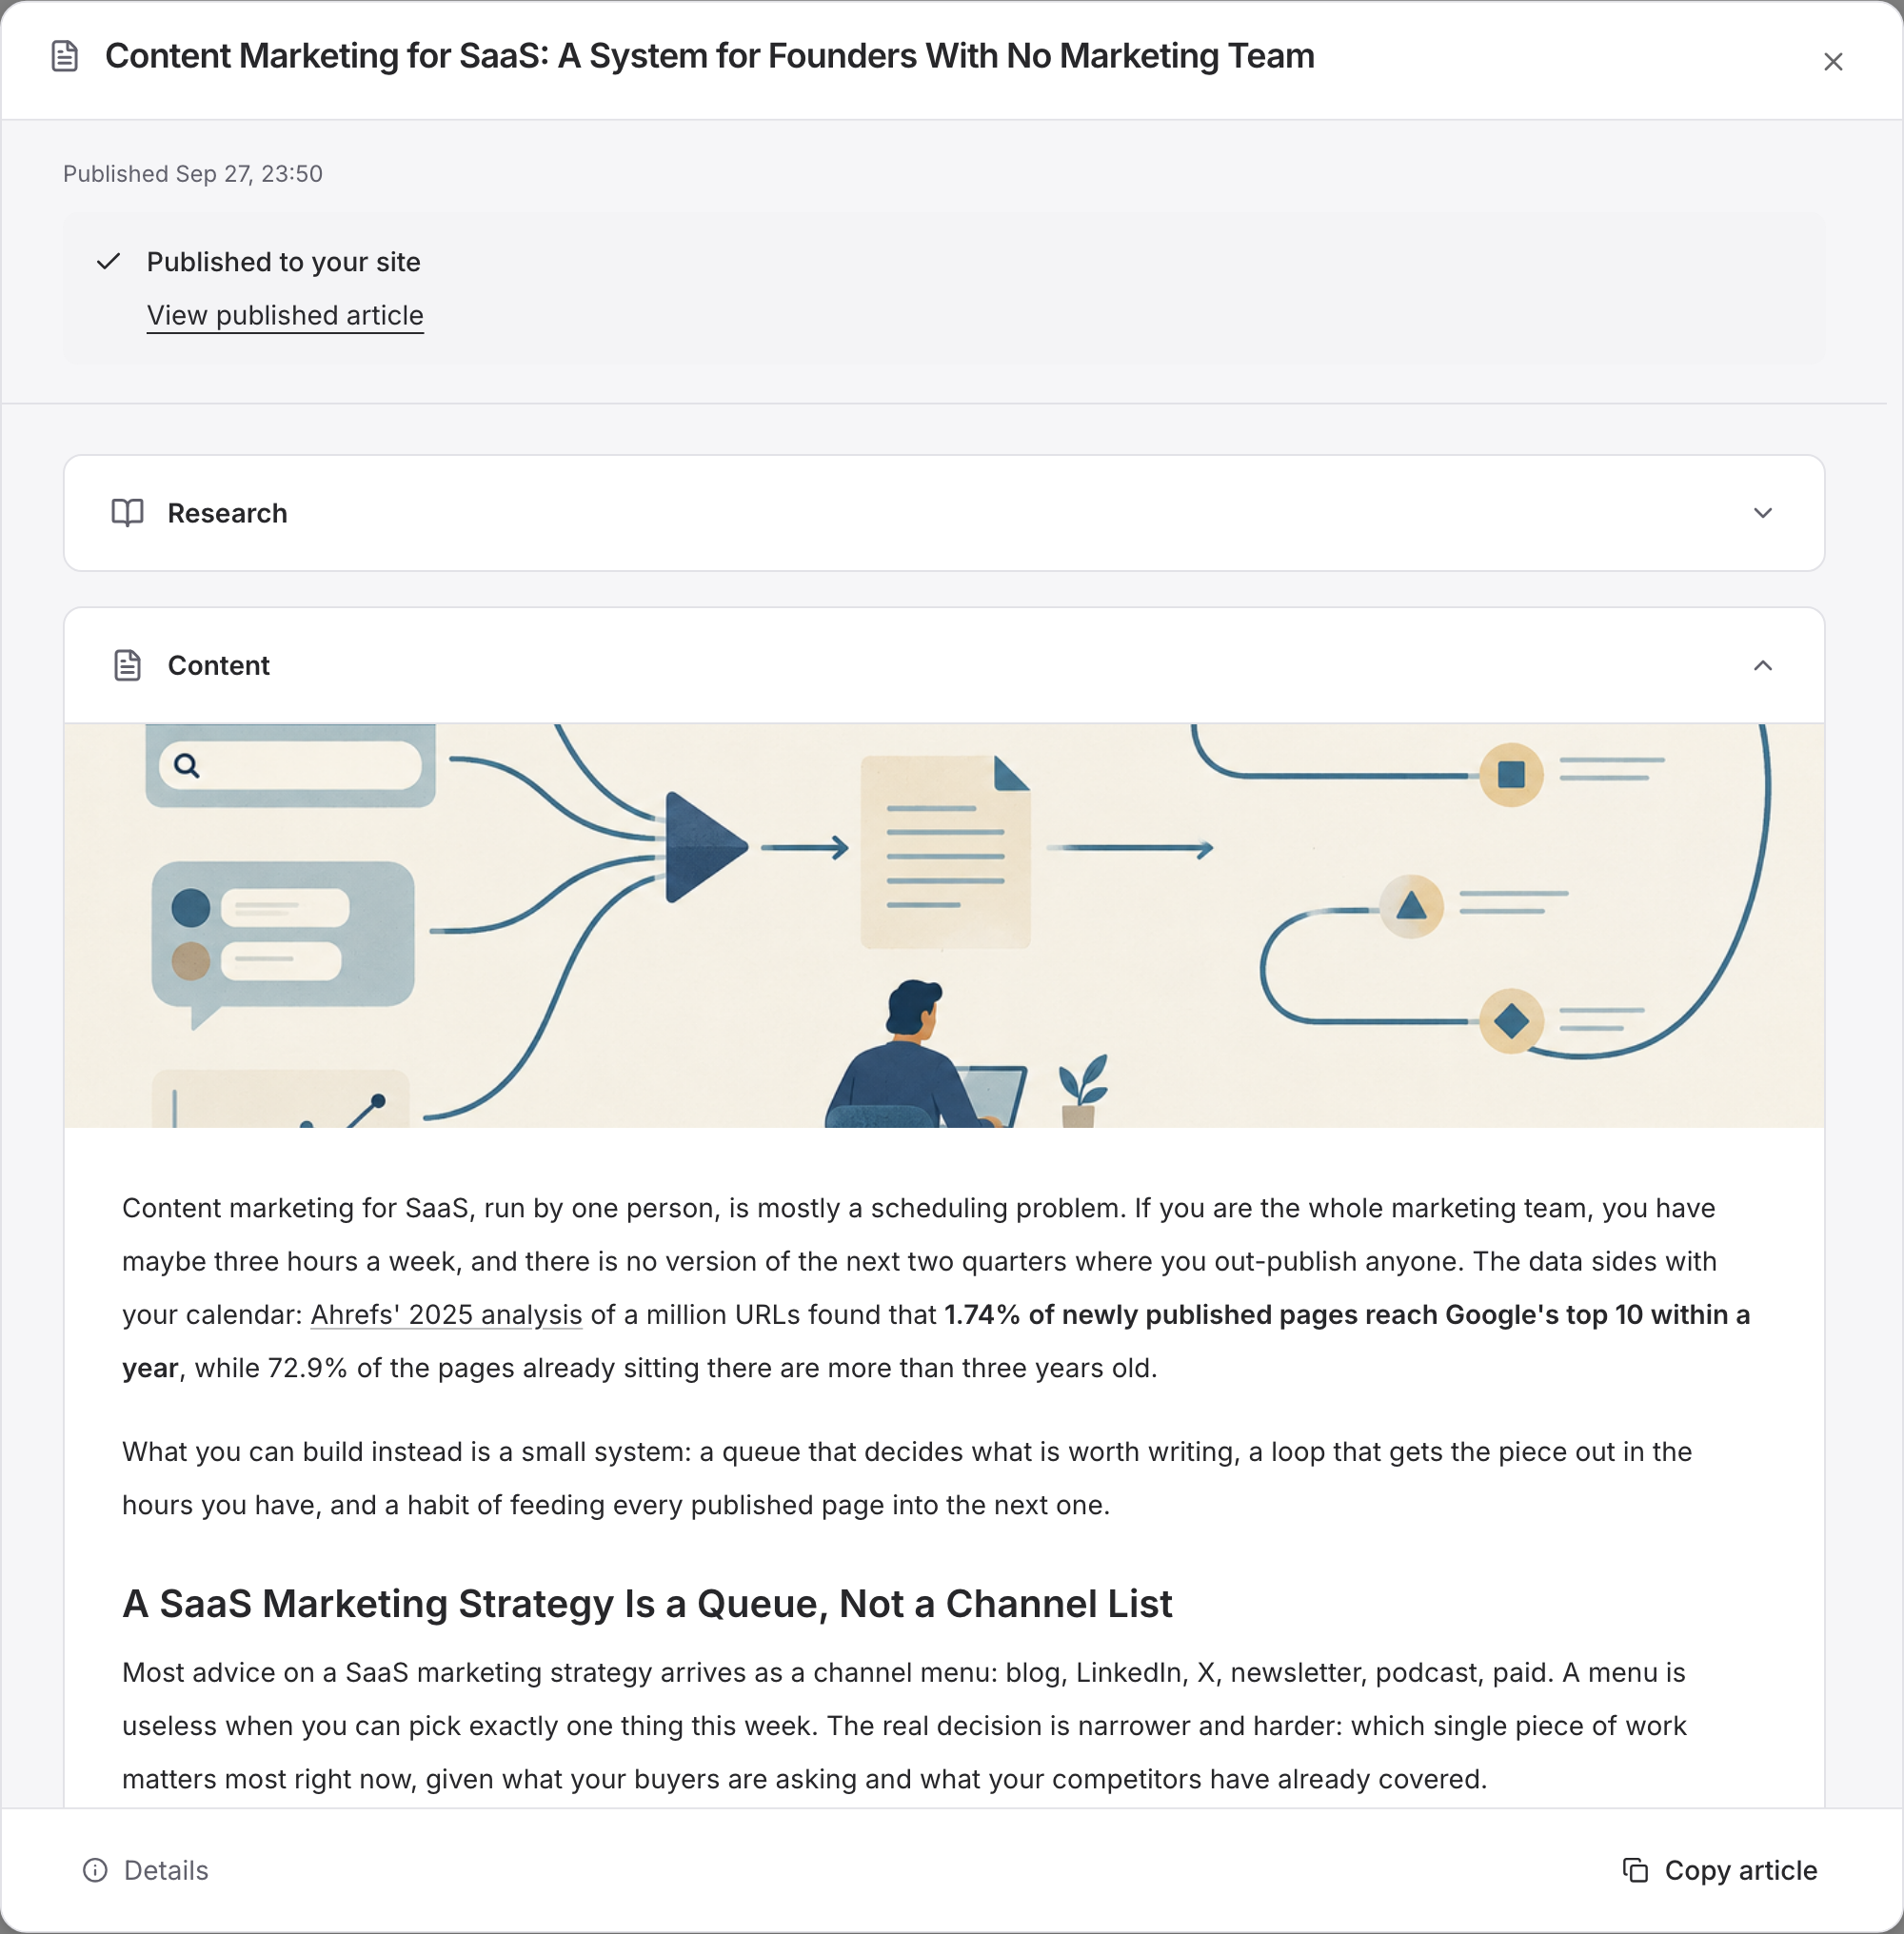
When the article shows Published to your site, open View published article. Check that the public URL, title, body, and cover match the intended article. A scheduled or publishing status alone does not prove delivery.
Watch the keyword research walkthrough (MP4). Silent recording of the actual Console; the steps are described above.
Watch the SEO publication result walkthrough (MP4). Silent recording of the actual Console; the steps are described above.
Automatic search-ranking tracking is not currently available in the Console. Use your site's search and analytics tools to assess indexing, impressions, clicks, and conversions. Publication does not guarantee indexing or a particular rank.
If a publication fails, read the error and inspect the public site before retrying when the outcome is uncertain. Fix the connection or content issue shown, then return to that article. Troubleshooting explains which states need another action and which need a status check.
Next: Review & Publish or the full workflow.