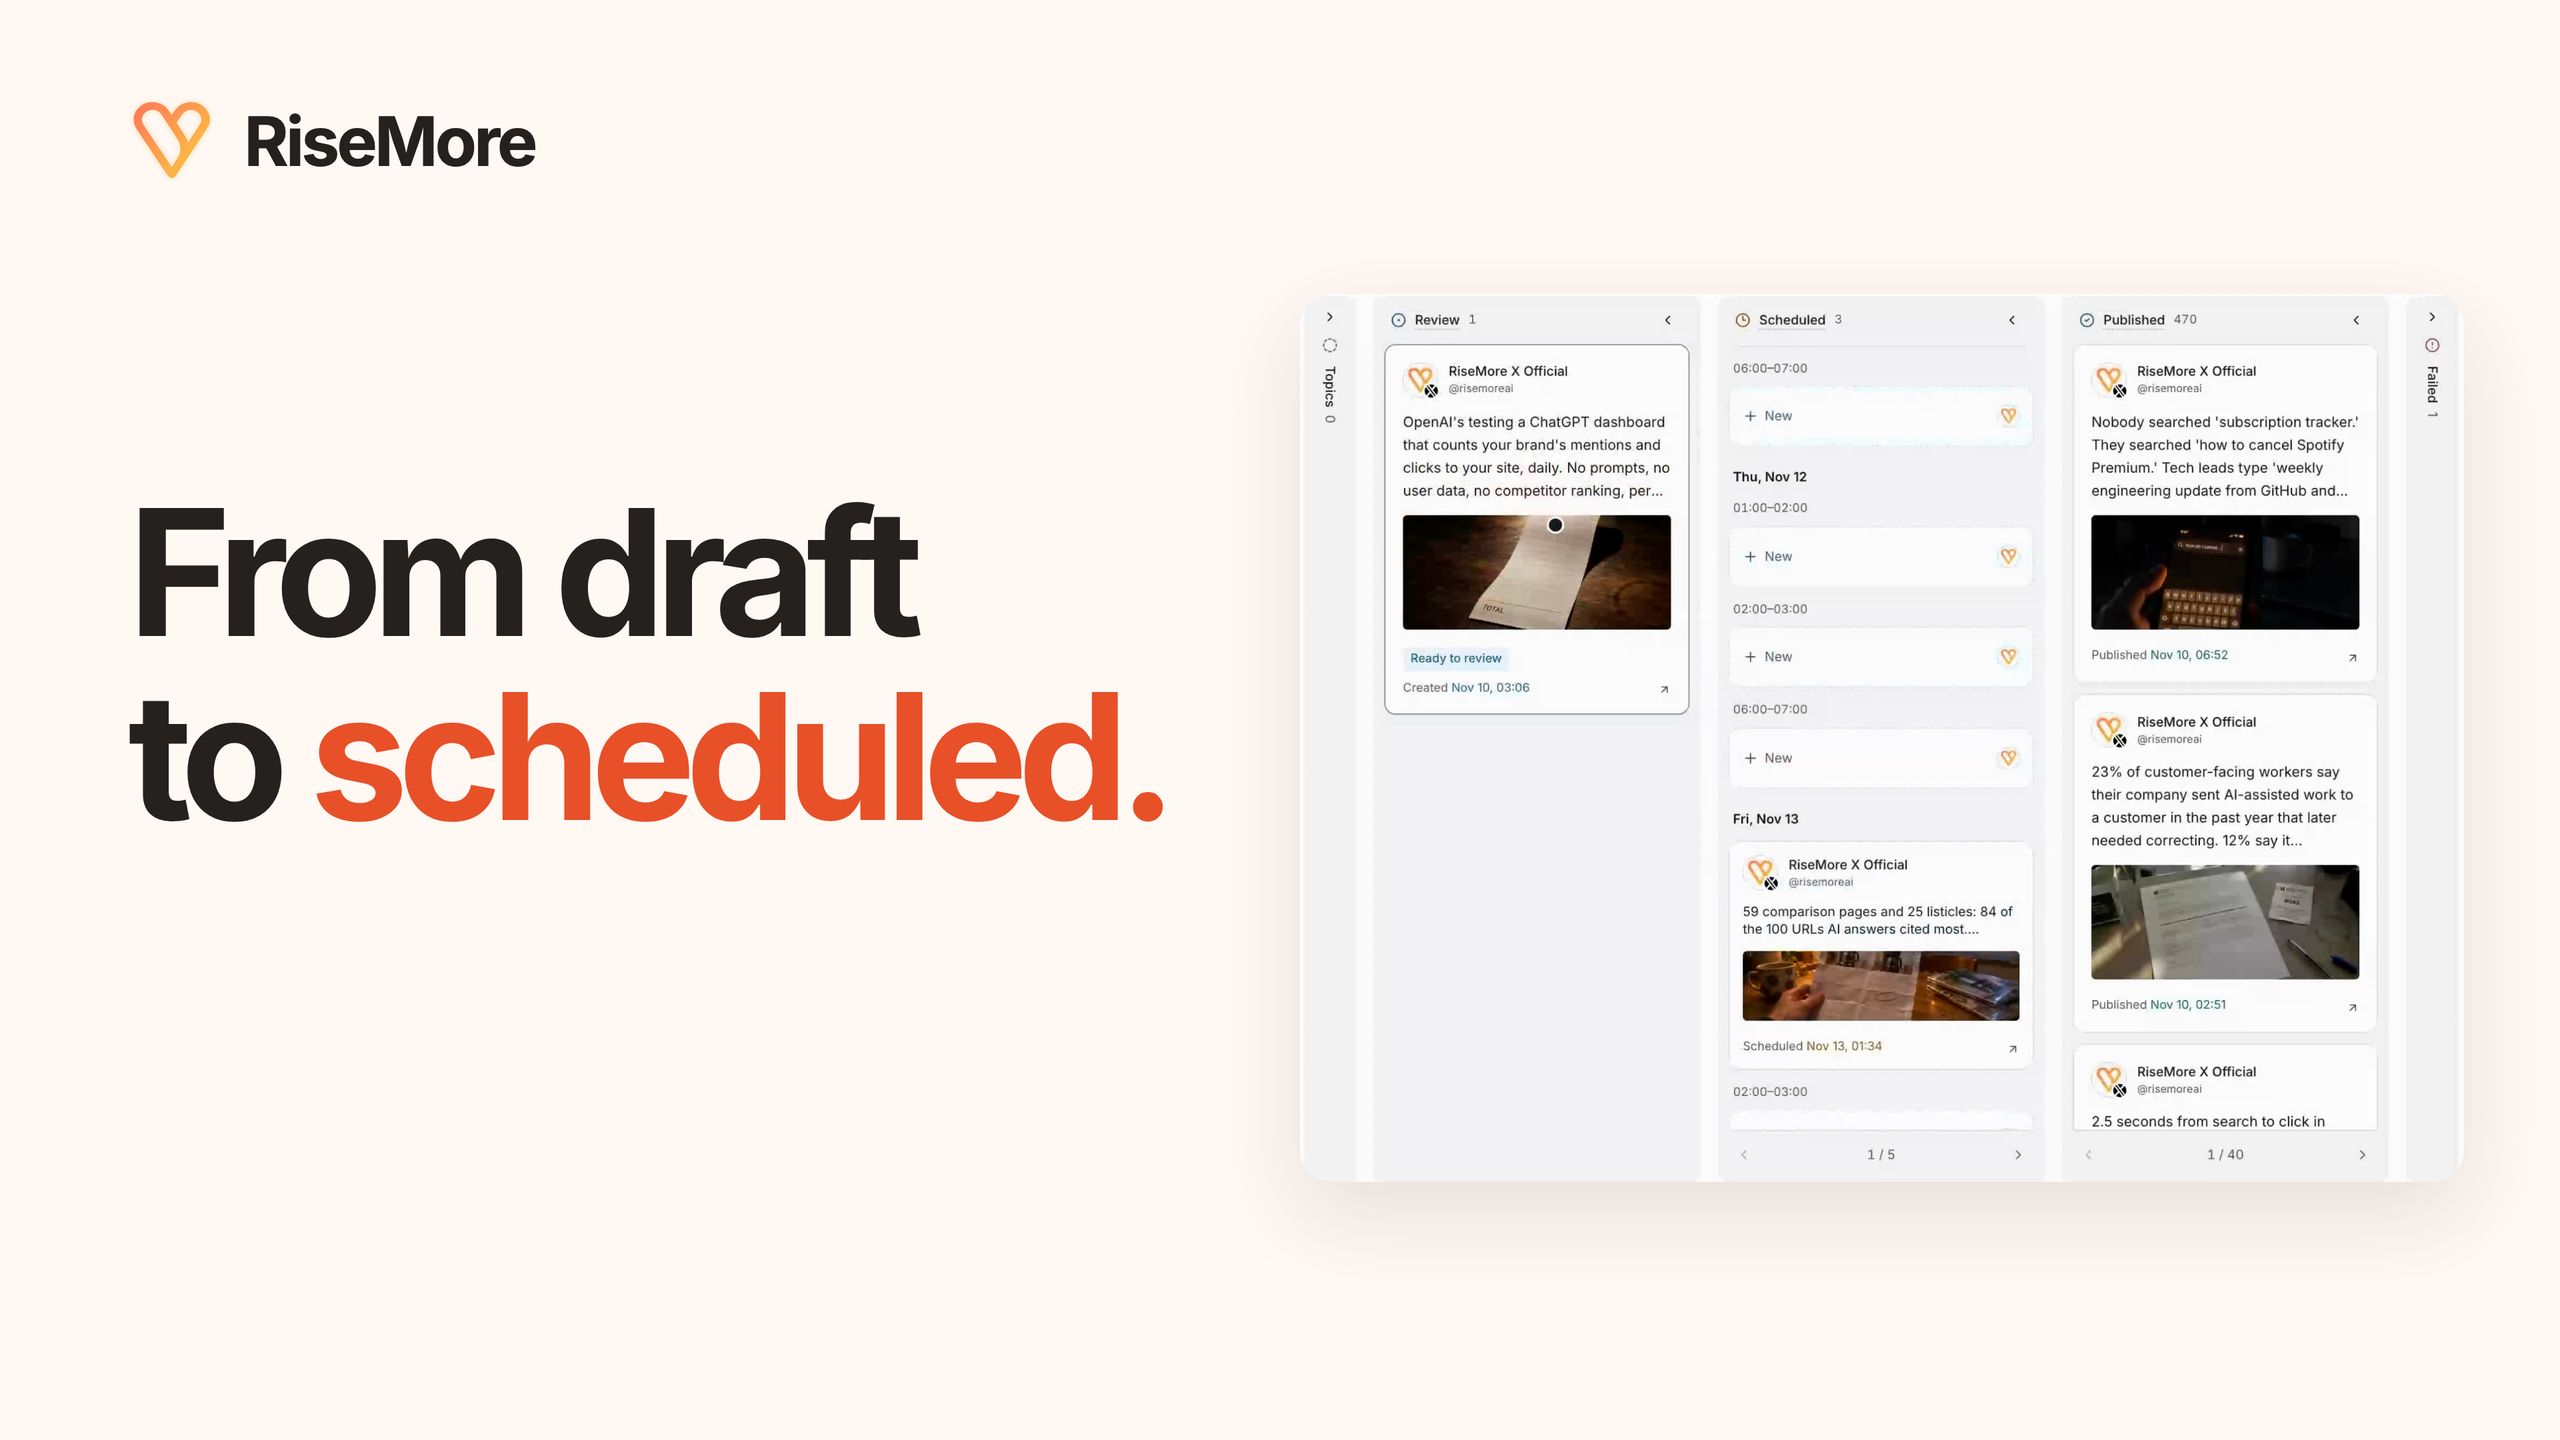
You can schedule a LinkedIn post from the post composer: write the post, select the clock, choose the date and time, and confirm the schedule. The important follow-through is checking the intended account and timezone, then verifying the live post after its time arrives.
This guide covers LinkedIn's native scheduling option and a RiseMore workflow for people who also want help researching, drafting, and reviewing their content. Choose one place to schedule each post so you can keep track of the original attempt.
Schedule a post directly in LinkedIn
Can I schedule LinkedIn posts?
Yes. You can prepare a supported post now and choose a future publication time in LinkedIn's composer, on desktop or mobile. For your profile on desktop, follow these steps.
LinkedIn's scheduling instructions describe this flow:
- Select Start a post and prepare the content you want to publish.
- Select the clock icon, choose the date and time, and continue with Next.
- Review the scheduled time and content, then select Schedule.
On mobile, tap Post, prepare your content, and tap the clock. Choose the date and time, then tap Next and Schedule.
Read the timezone displayed in the composer before confirming. If you are posting for a business in another region, compare that time with the audience's local time rather than assuming the two are the same.
Posting as a company Page also requires the appropriate Page permissions. Use LinkedIn's Page-post scheduling guide for that destination. If scheduling is unavailable, check the destination and post type against LinkedIn's current help.
Where to find your scheduled LinkedIn posts
On desktop, open Start a post, select the clock, then choose View all scheduled posts. On mobile, tap Post, the clock, then View all. Open a queued post to preview it and check its scheduled time before making changes.
How do I edit my scheduled posts on LinkedIn?
From LinkedIn's scheduled-post list, open the post's More menu. Use Edit post to change its content or Modify schedule to change its time. Review and save the change, then check the scheduled item again. Posts queued in RiseMore use the separate cancellation and review steps below.
When you also need help getting the content ready
A scheduler handles a time and a finished post. You may also need help deciding what to say, finding supporting material, and turning it into content that represents your business.
For example, a consultancy might explain a recurring customer question. An e-commerce brand might demonstrate how to use a product. A founder or marketing team might share a specific lesson from a launch. Start with something useful to the people you want to reach, then check that the post's claim, voice, and image fit your business.
RiseMore's Social Agent connects that preparation to a review and publishing workflow for connected X and LinkedIn accounts. The steps below describe scheduling through RiseMore. Keep the native LinkedIn queue and the RiseMore queue separate when deciding where to send a particular post.
1. Check the channel and its account connection
Open Social Agent → Channels and choose the LinkedIn channel you intend to use. A channel holds the voice, language, posting history, and schedule for one account. Confirm the displayed account before reviewing or scheduling its drafts.
Resolve a connection warning before relying on automatic publication. A manual channel still requires you to publish the content yourself. When you connect or reconnect an eligible account, inspect the queue and its future windows so you know what is approved to go out.
Research and drafting use credits. Check the current plan and usage information for your account rather than using the number of posting slots as a promise of how many drafts will be generated.
2. Set the posting timezone and slots
In the channel, open Edit posting times. Check Timezone, add or remove the posting slots you want, and choose Save schedule. Use a timezone that you can interpret consistently when reviewing the queue, especially when your team works across regions.
After saving a change to the timezone or slots, check the assigned windows on existing queued posts again, especially any post with an individually chosen time.
A channel's posting slots are separate from the research and generation jobs under Scheduled. Changing when research runs does not set a post's publication time. Inspect both if content is arriving or publishing at a different time than you expected.
3. Review the draft, then confirm its publish window
Open the draft and inspect its research, text, links, image, and intended account. Save any edits. Each platform has its own channel context, so review the LinkedIn version even if you have already reviewed a related X post.
Select Approve & schedule. Read the proposed Publish window, choose another available window if needed, and check the displayed timezone before selecting Confirm schedule. The approved content can publish within that window on a connected, active channel when the product is active.
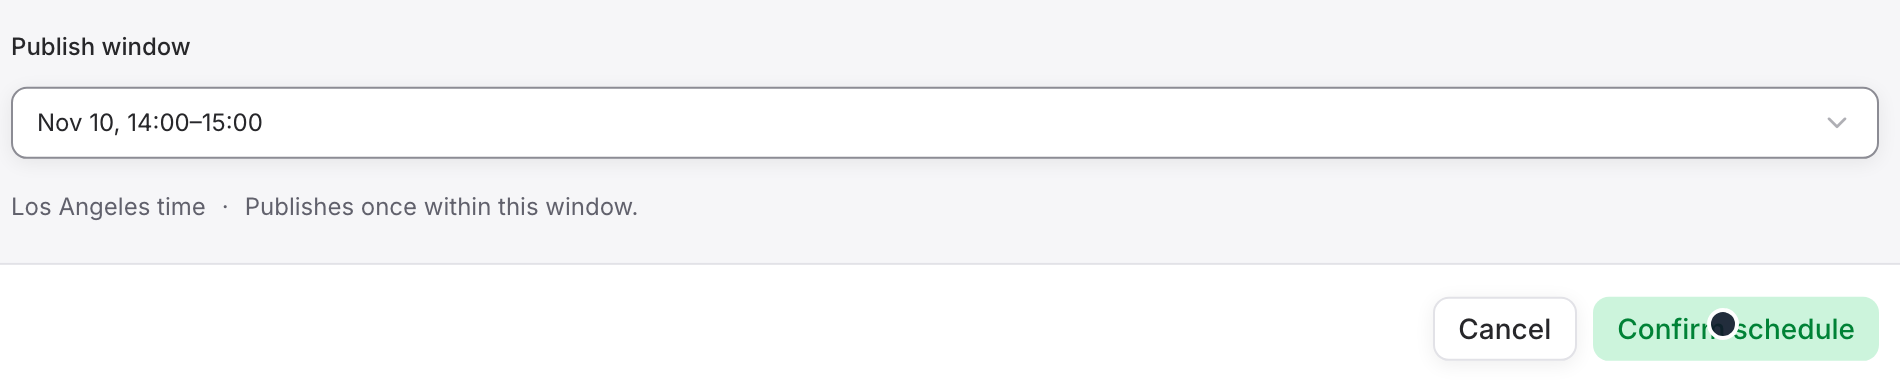
Return to Workflow and check that the post is in Scheduled. That is your confirmation that it joined the queue; the public result is checked after delivery.
4. Change a schedule or return a post to review
Use Reschedule to choose another available window. To revise an eligible queued post, open More actions → Cancel schedule. The post returns to Review, where you can save changes and approve a new window.
If there is no available window, add a slot through the channel's posting-time settings. Use the post's actual scheduling controls to change its timing. The weekly calendar is an overview of the schedule.
Publish now has a separate confirmation for sending an eligible approved post immediately. Choose it only when that is the action you intend.
5. Verify the live result and recover safely
When the result link is available, open View published post. Check the account, the actual text and image, and the public URL. For a manual publication, Mark published records the URL you supply; it does not send the post to the platform.
If a scheduled post did not go out, inspect its window, the connection, and whether the product or channel is paused. Read the reason on a failed post. For a confirmed failure, fix that issue and use Back to draft when available before reviewing and scheduling again.
For an uncertain send, inspect the platform and use Verify publication to resolve the existing attempt. Keep the original post while checking. Reconnecting an account does not replay expired publication windows; overdue work needs an explicit review and new schedule.
For LinkedIn engagement, inspect the live result on LinkedIn. RiseMore's automatic engagement collection currently supports X, so an empty LinkedIn metrics view should not be treated as evidence that the post failed.
Watch the 78-second Social Agent walkthrough. The recorded example uses an X account.
The Social Agent guide covers the current controls and recovery states. To connect preparation with publication for your business, explore the Social Agent. If you are evaluating a broader social-management platform, compare RiseMore and Hootsuite by the work and destinations they support.
_